I posted a little bit about this tweeters and spacebook, but I thought I’d make a more detailed post about it, right here, on my blag.
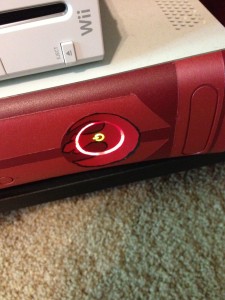
So, I was just making my way through the Final Fantasy XIII (longest damn game) and my Xbox started to glitch and then froze. This had never happened before. I thought maybe it was just a hiccup. So, I turn it off and turn it on to find this:
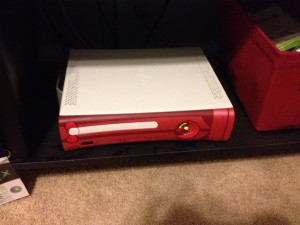
I bought this in the winter of ought 7 for my birthday and tried to make sure it was properly vented and cooled. I had an intercooler on it and everything (even though the effectiveness of these are subject). I had done everything right. It was not enough. Death waits for no man, or, you know, Xbox.
My immediate reaction was, well, how much is a new Xbox. That is defeatist talk! I am better than that! Thus began my journey to put the fix on the Microsoft monster.
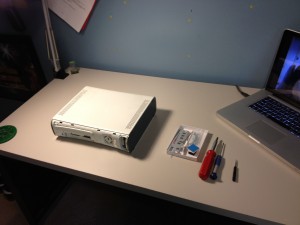
I started looking up fixed on the Googles to find that ifixit had a kit to buy for the low price of $30. That is an order of magnitude difference between a new Xbox. Seemed like an east decision to me. One week later the kit arrived at my door and the real work began.
Let’s do this.
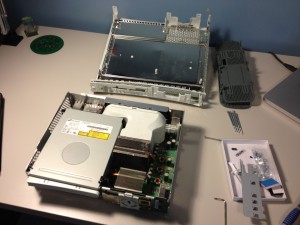
All the guts. It is actually really well designed and everything fit together logically, unlike so many other electronics who’s strategy seems to be, “cram it all in and to hell with how it fits together.”
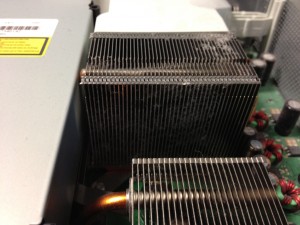
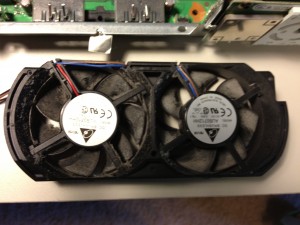
The first thing I noticed was the duty build up of the heat sinks. Dust is the enemy of computers. It kills fans and causes chips to overheat. This takes at least part of the blame for why it broke.
Ditto to the fans.
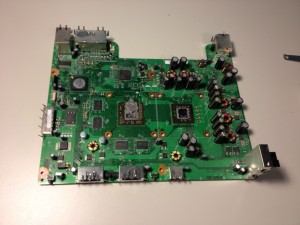
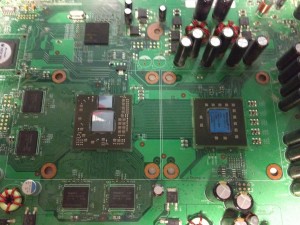
After removing all the heat sinks this is the mainboard, naked, alone. The workhorses of the system are the the two big chips in the middle with the silver stuff all over them. They are the CPU and the GPU.
Part of this repair involved taking all the silver stuff I mentioned earlier, off. A new application of thermal paste will be applied but it is also important it is removed prior to the reflowing of the solder which I will get to in a minute. Thermal paste’s sole purpose it to transfer heat and you want the heat to be even when you use a heat gun.
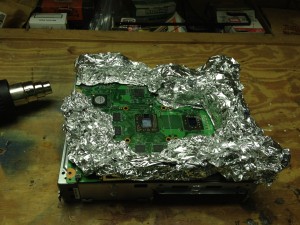
This is the setup for reflowing the solder. Due to the overheating sometimes the solder points on the chips become cold or lift all together. This is an effort to reflow the solder and to reinstate the connection. The foil is covering up all the components we don’t want to heat. The capacitors are especially sensitive to hear and can break if heated too much. This is an imperfect process as you can imagine so it’s just best to exercise caution. I heated the bottom of the board for 1 minute on low heat and then flipped it over and heated the top (pictured) for 1 minute on low then 4 minutes on high. I used sweeping motions on all the exposed chips making sure not to hold the gun still for the entire process. Afterwards it should be left to cool to room temperature before moved. This prevents the newly reflowed solder from moving.
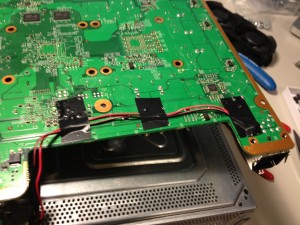
I wanted to make sure that this would never happen again so I looked up different mods for the fans. I found out that even though the fans are rated to be run at 12V they run at 5V due to noise issues. To me a noisy console that works is better than a quite one that doesn’t so I decided to pull 12V off the main power source and run it to the fans.
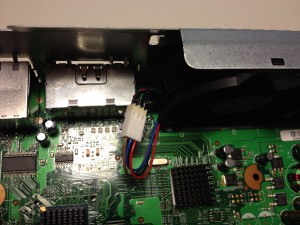
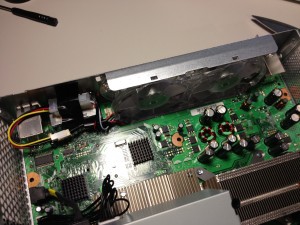
This is the 12V connector I added connected to the fans. I cleaned the dust off of all the components and installed the RROD kit per iFixIt’s instructions. In an effort to be more detailed the kit actually replaces the heat sink clamps with screws for a tighter connection and adds heat sinks to other chips. It’s a simple kit, but it really does make a difference. The tighter the connection the better the heat can flow.
I crossed my fingers and turned it on. It worked! Sure, the fans now running at 12V sounded like a jet engine, but it worked! Saved quite a bundle fixing it myself.
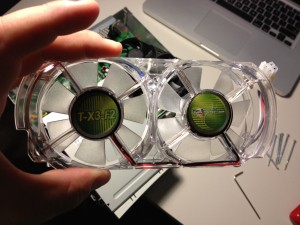
This happened later, but I found replacement fans for the Xbox that ran a little quieter and pushed more air so I ordered them. Again, I don’t want to have to deal with this problem again.
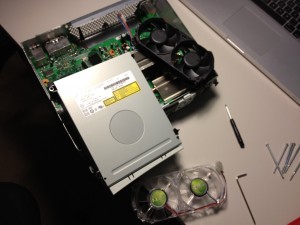
Here is what the new fan looks like. It has green LEDs in it that make it glow, which I could leave, but whatever, I care about performance.
Doing the swap. Kudos to Microsoft again, this system is so easy to get in and out of.
Here are the new fans in place. There was one converter connection added because some older Xboxes have a different connector. Luckily, there is plenty of room for it to spread out.
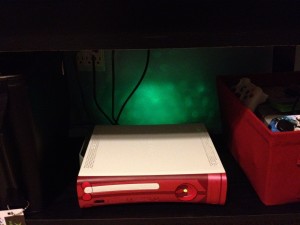
The new fans work! They actually are noticeably quieter. If their claims are true it should be much cooler as well. This is about all I plan to do to the internals of my Xbox and now it glows green, too, which, great!
If anyone has any questions about the repair just contact me in any of the ways posted or in the comment section. I am more than willing to provide any help I can.

2 replies on “Red Ring of Life!”
Good work!
Thanks, Dude! I am super happy it worked.